

How I Made Soap From My Garden

My first batch of homemade soap turned out pretty good… Thanks to some research!
It was a bit daunting - and there are SO many products out there for this craft; you can really get carried away and spend a fortune!
Check out my affiliate links below and support my small business by using them when you purchase.
What I’m doing here is showing you a few of the things that made this craft FUN but also simple. And I didn’t have to spend a fortune to get started. The soaps I make are all melt-and-pour… you can do cold press or hot press soap, too.
The soap base: I chose a hemp seed oil soap base because I liked the transparency and the ingredients. Plus, hemp is on the rise in popularity so I thought consumers would like that too. You can buy soap bases made of shea butter, goats milk, aloe vera, cocoa butter and more. Keep in mind the type of method you are using, and make sure the base is compatible.
Here is a link to the Hemp Seed Oil Soap Base I used: https://amzn.to/40La7eO
The double boiling pot: This is the next essential item. You could find a pot or two at home that work, but I wanted something new that I would use only for soaps. So I chose this pot: https://amzn.to/3m15JJZ
Fill the bottom pot with 2 inches of water and put the stove burner on high, then add 2 handfuls of chopped soap cubes into the melting pot. You don’t want to add too much, because when the cubes melt, the liquid could potentially be more volume and create a mess. The set comes with a spatula for stirring and scraping the sides.
You can pour and melt multiple batches in the pot - and it’s easy to clean in warm water once you’re done.
The Soap Molds: This is the best part! (And the longest to shop for - there are so many to choose from) The long brick molds might be the most popular today; you see soaps made this way in every boutique. It’s a wooden box with a silicone insert that you pour into and let sit for 24 hours. Once it’s cooled completely, you remove the mold and slide out the brick, then cut it into 1-2” slabs with either a knife or wire.
With the double boil I use, I need to melt 3-4 batches in order to fill this mold, so mine always come out in layers.
Here is the set I bought: https://amzn.to/40BUuXt
I absolutely love all of these products and continue to experiment with different scents and colors.
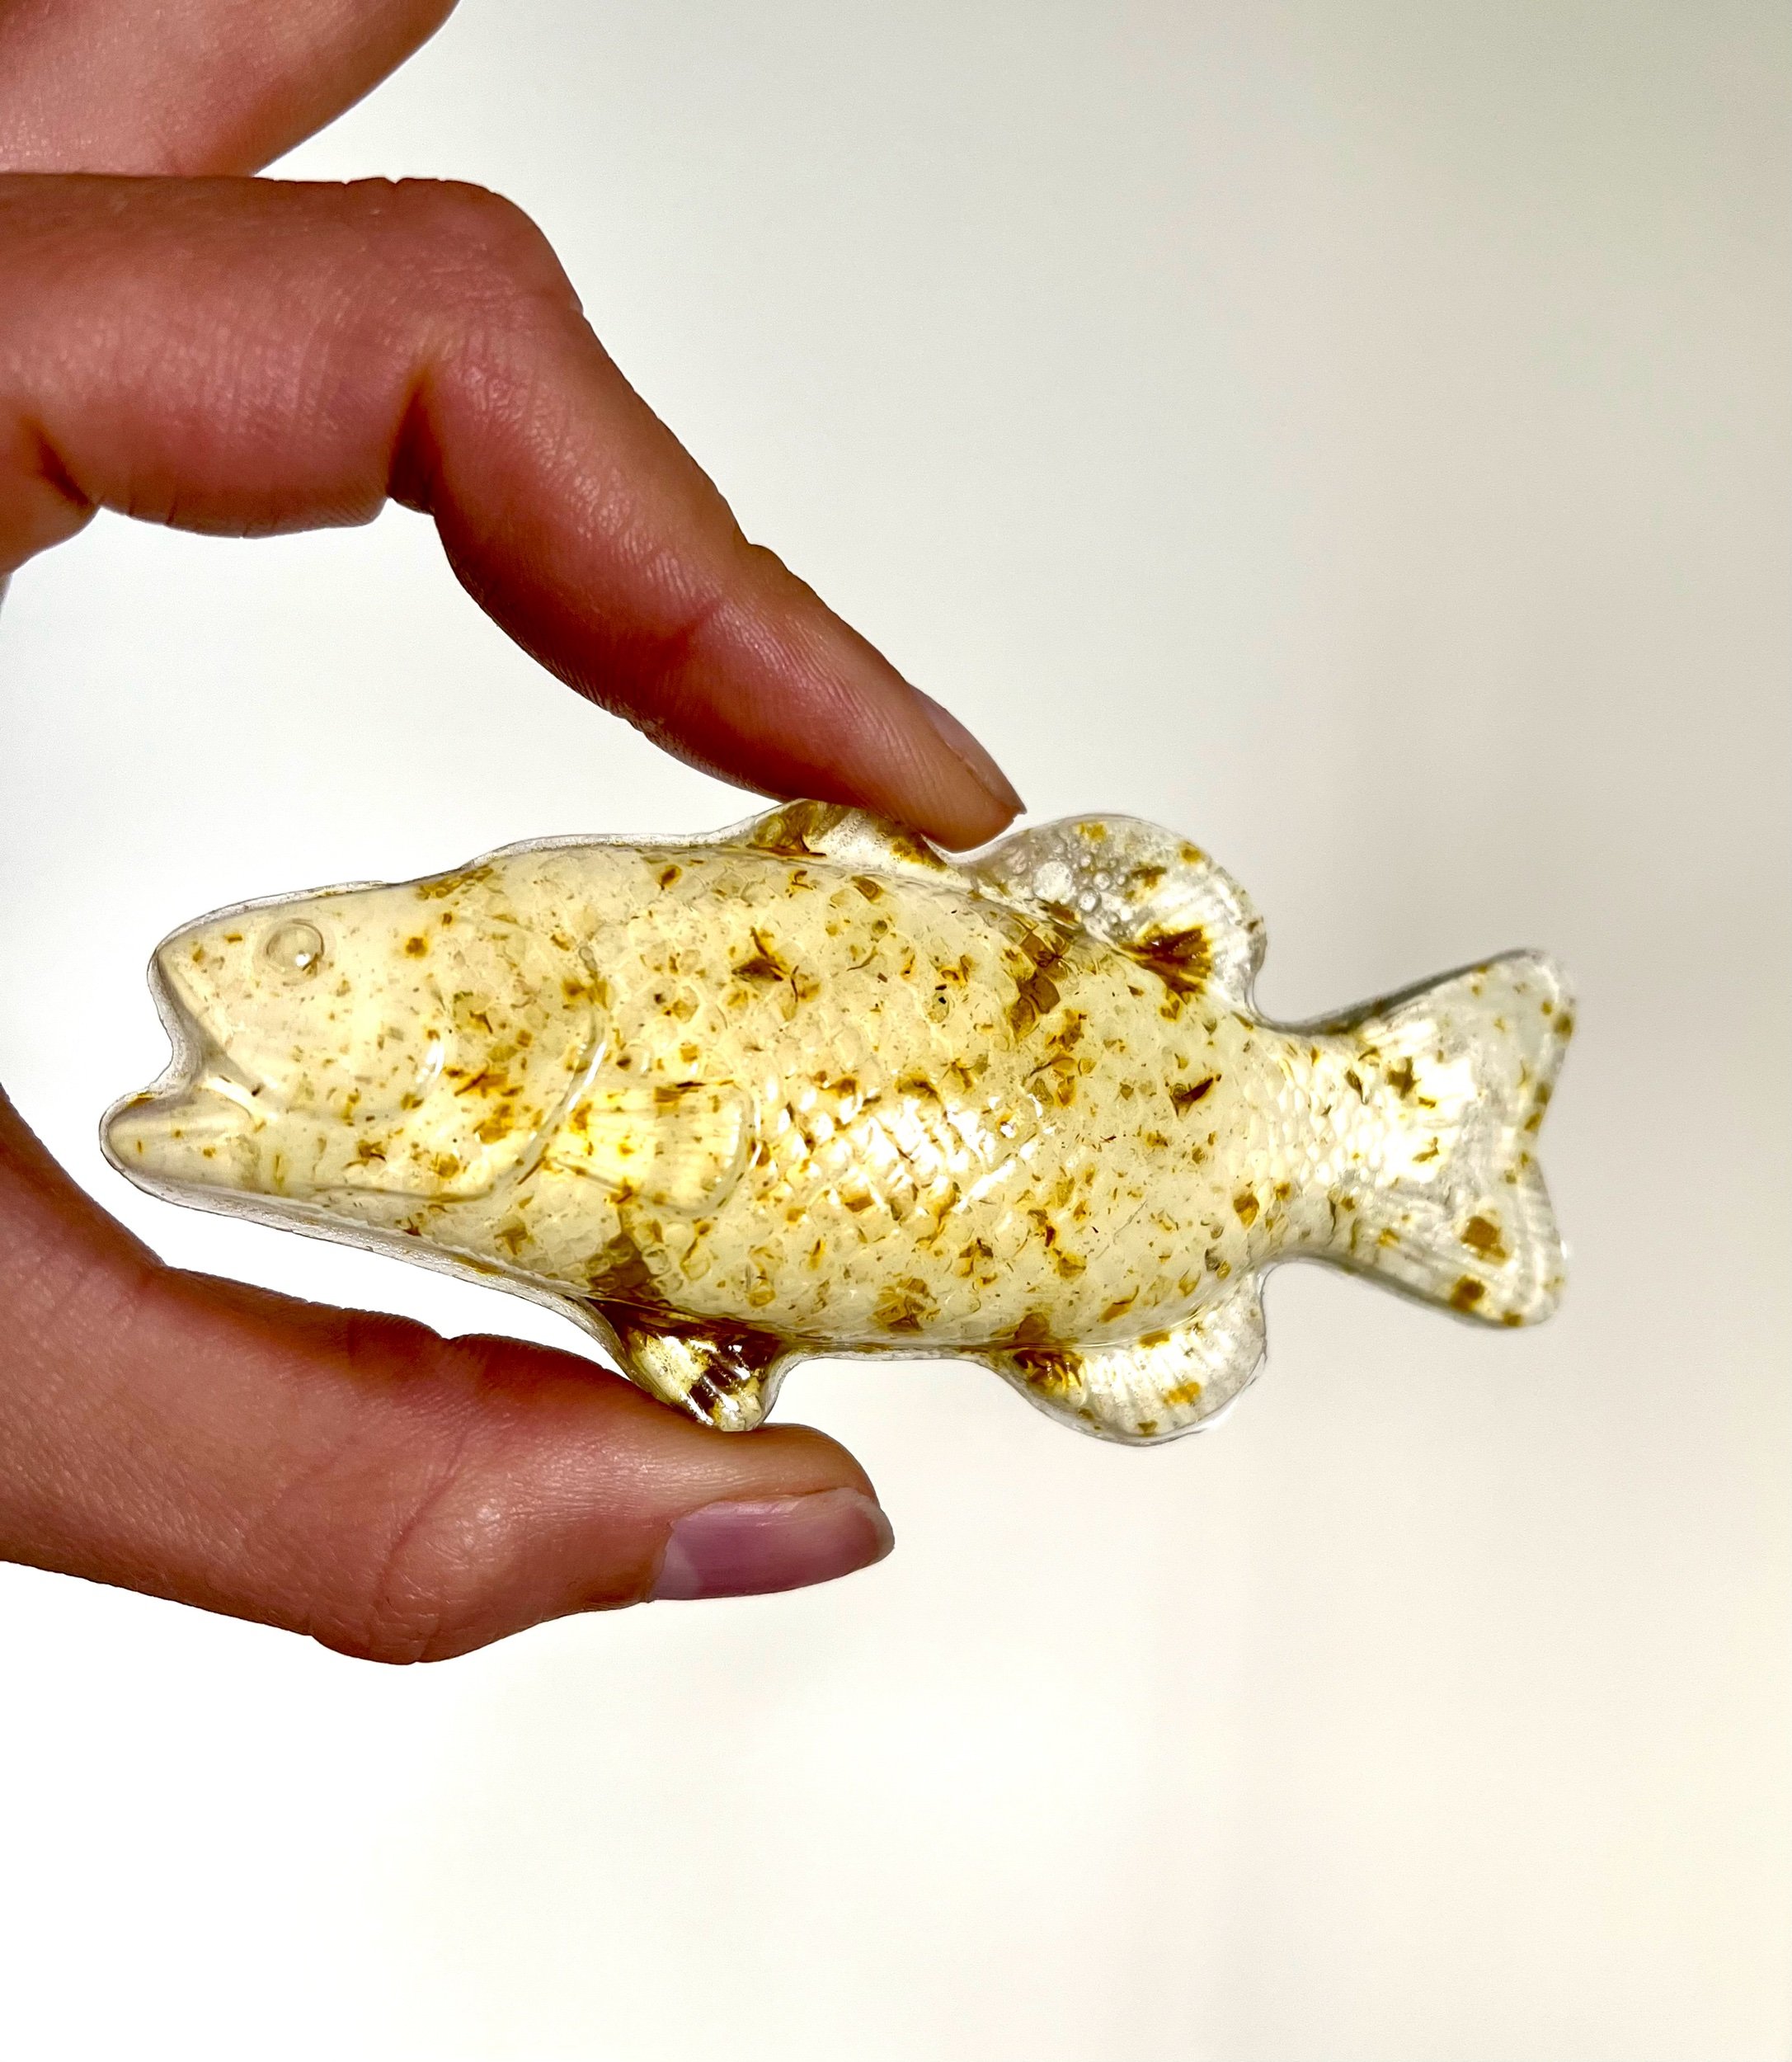
To make them unique, I took my mortar and pestle and ground up dried flower petals from our garden last year. Some of the petals don’t hold their color, but they still add some texture and look really cool inside the hemp seed oil soaps, especially the fish shaped ones.
My favorite flowers to dry and use are the roses - we grow a Rose Rugosa Bush that is absolutely beautiful and fragrant. My second favorite botanical to dry and crush are eucalyptus leaves. We often use eucalyptus on it’s own in vases or as a filler, and I hate to throw it away. Below are some of my Floral Rose Fish from my latest batch.


Please leave any comments or questions you have! Hopefully this was a little helpful on your soap-making journey. And if you don’t want to make the soap yourself, you can always purchase from our shop and I will be sure to personally thank you!